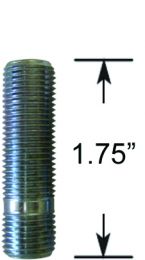
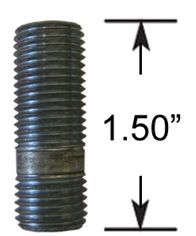
Wheel Studs


Wheel Studs | Coyote Accessories

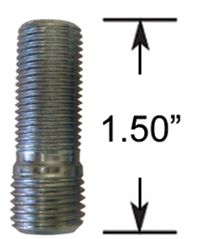
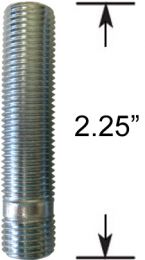
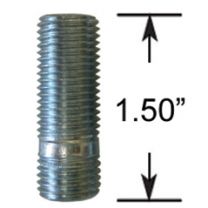
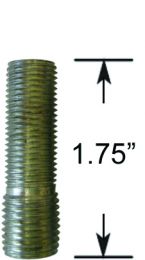
Wheel studs are available in 2 different configurations, Press-In and Thread In. Coyote sell Thread In Wheel Studs that are designed to replace lug bolts with a traditional stud and lug nut configuration. Wheel Studs are permanently threaded directly into the vehicle’s hub using hex key. Lug nuts are fastened over to the wheel stud to secure the vehicle’s wheel assembly to the vehicle’s hub. When a wheel is removed for tire changes etc., the stud remains in the hub.

Materials, Heat Treatment and Plating
 All Coyote Accessories wheel studs are made of 1045 Carbon Steel and Heat Treated to 12.9 grade. Carbon Steel is an alloy known for its very good form-ability, comparatively high strength, and a very good surface finish. 12.9 Grade is selected for its high Tensile Strength and excellent mechanical properties. In comparison, 12.9 Grade has a tensile strength of approximately 160,000 psi, 9.8 Grade 131,000 psi, and 8.8 Grade 120,500 psi.
Coyote Accessories wheel stud finishes are corrosion tested using a 48 hour salt spray.
Wheel Studs FAQS
How To Replace and Install Wheel Studs?
Wheel studs hold the wheels onto a vehicle hub.. Over time, your studs will be damaged by wear and tear. Once you see visible damage on your studs, that’s a sign that it needs replacing. To prevent premature wear and tear, make certain that all fasteners are torqued to manufacturers specifications, wheel adapter fits the vehicles hub pilot and wheel bore, and has the correct bolt pattern for both vehicle and wheel.
To replace worn or broken wheel studs. these are the tools you need to replace and install new wheel studs:
- Air or Electric Impact Wrench
- Impact Socket of Appropriate size
- Drift Punch (for removal of broken wheel stud)
- Hammer
- Grade 8 Washers
- Replacement Studs
- Replacement Lug Nuts
- Jack
- Jack Stands
- Wheel Chocks
- Torque Wrench
- Safety Glasses
To replace a wheel stud, you need to remove the existing one first. Next, lift your vehicle off the ground and safely support it on Jack Stands. Remove wheel from the vehicle using Impact Wrench and any other components that may prevent removal and replacement of wheel studs. Using hammer, strike the end of wheel stud removing it from hub. A Drift Punch may be required for removal if stud is broken. Don’t forget to wear safety glasses during this procedure.
Now, insert your new studs into your hub. Then, place a couple of grade 8 washers on the studs. Use your hands to tighten the lugs on the washers. Once tightened, use your impact socket to pull the stud into the seat on the back of the hub and tighten the stud down. Next, you may remove the lug and the washers and move on to the remaining lugs.
Once done, you can re-install your wheel. Use your socket to tighten the lugs around the wheel. Lower the vehicle onto the ground and finish tightening the lugs using a torque wrench according to the specified torque setting.
If you need assistance, you can always call us at Coyote Accessories, and we’ll help you out.
How To Measure Wheel Studs?
The thread size is taken across the outside diameter of your wheel stud threads. It can be measured in either standard (1/2", 9/16", etc.) or metric (M12, M14, etc.). The most common thread sizes are 12mm, 14mm, 7/16", 1/2", 9/16", 5/8".